 Cart(
Cart(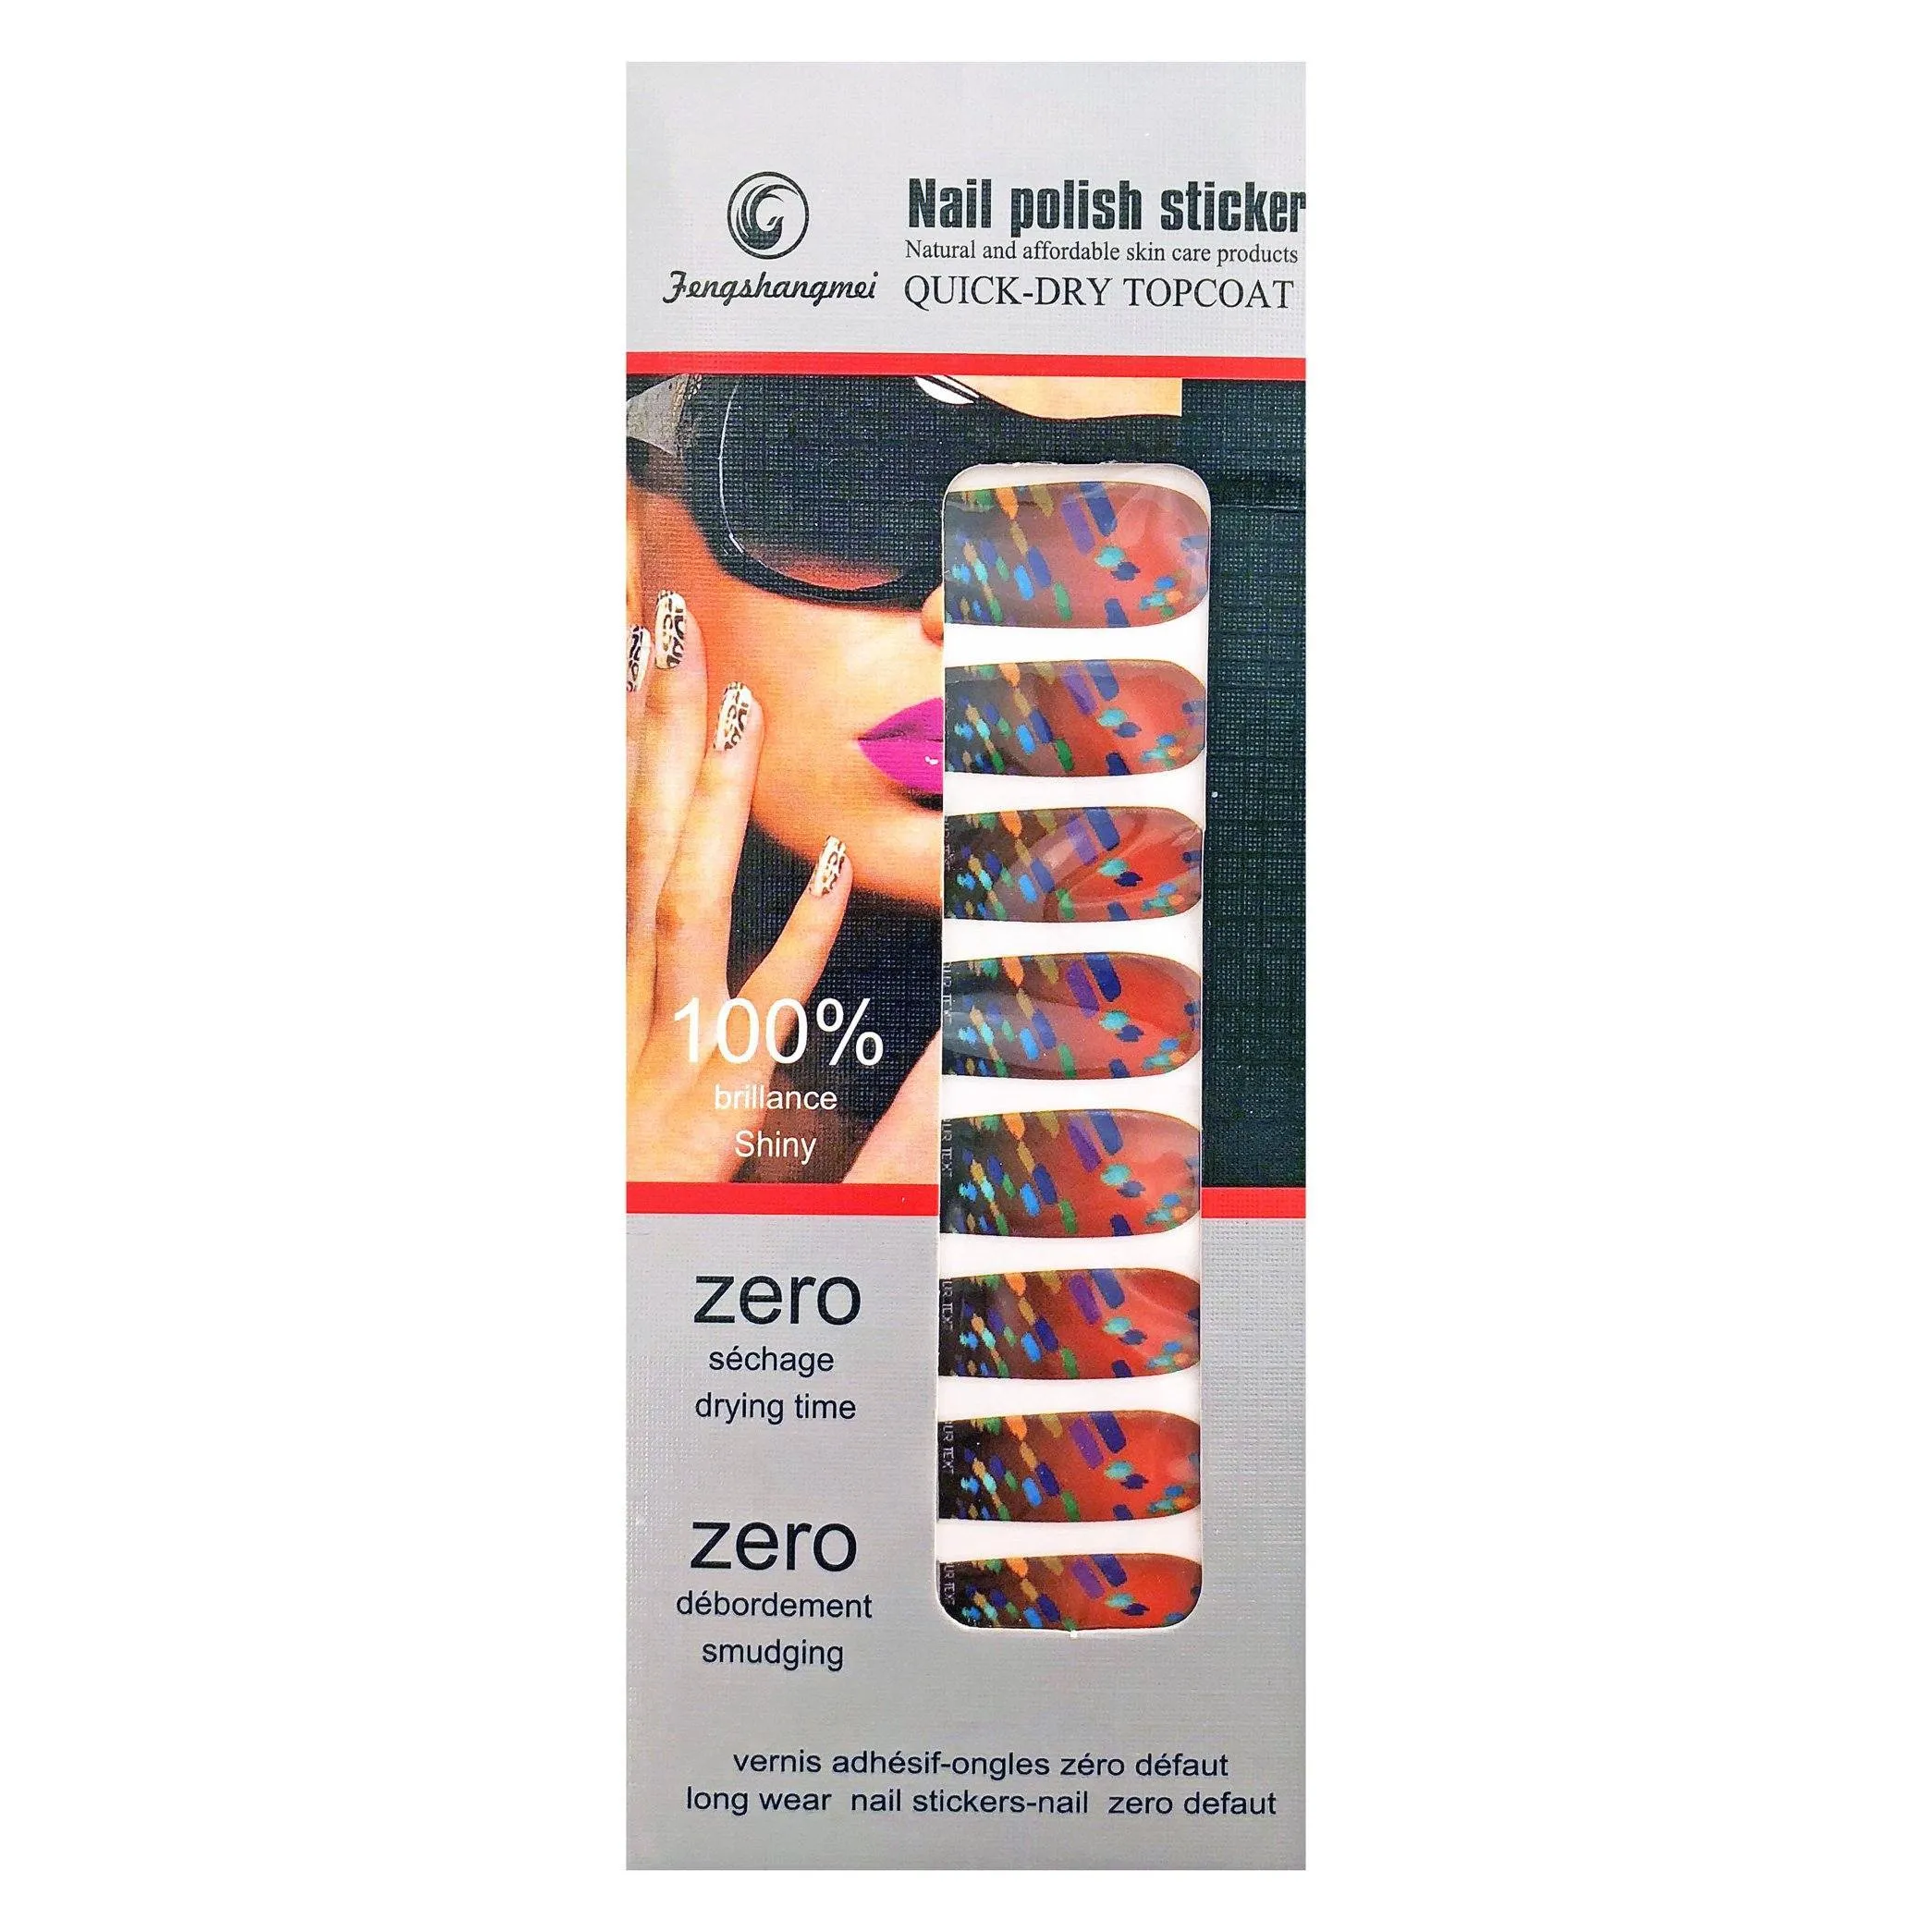
Our Nail Stickers will add a bit of glitz and glamour to your look.
Includes: nail stickers as per the picture.
Follow these steps to apply:
You will need:
- nail file
- cuticle pusher
- small scissors
- set of nail stickers
2) For a perfect match, before you remove the backing, measure the nail sticker on top of your nail. Make them a bit larger if you’re in doubt, because you can always trim the excess. If needed, trim a decal before you stick it on—once it’s applied, it’ll be more difficult to get a clean cut.
3) Press on your nail sticker close to the cuticle and smooth it out toward the end.
4) After applying, there will be a "flap" of sticker at the tip of your nail. Use your file downward along tip of nail to remove the extra, taking care not to file on top of sticker! If you accidentally file too much you'll see your nail showing through at the tip. Don't take sticker off, just yet, add a little polish in a shade that matches sticker, right along the edge as needed.
5) The final trick to keeping stickers put is to "iron" them! Push and pull your thumb down onto each nail, from cuticle to tip. The heat generated from the "ironing" effect will help them last longer!
6) Depending on the directions listed on the your stickers, you'll either peel them off or remove with regular polish remover.


